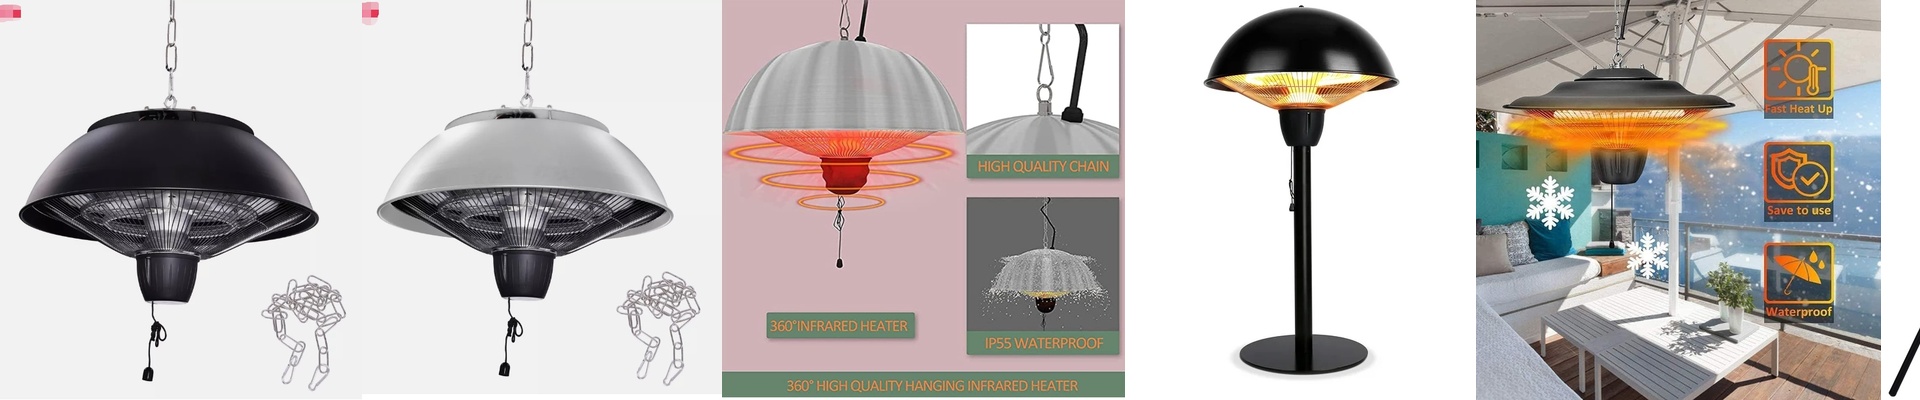
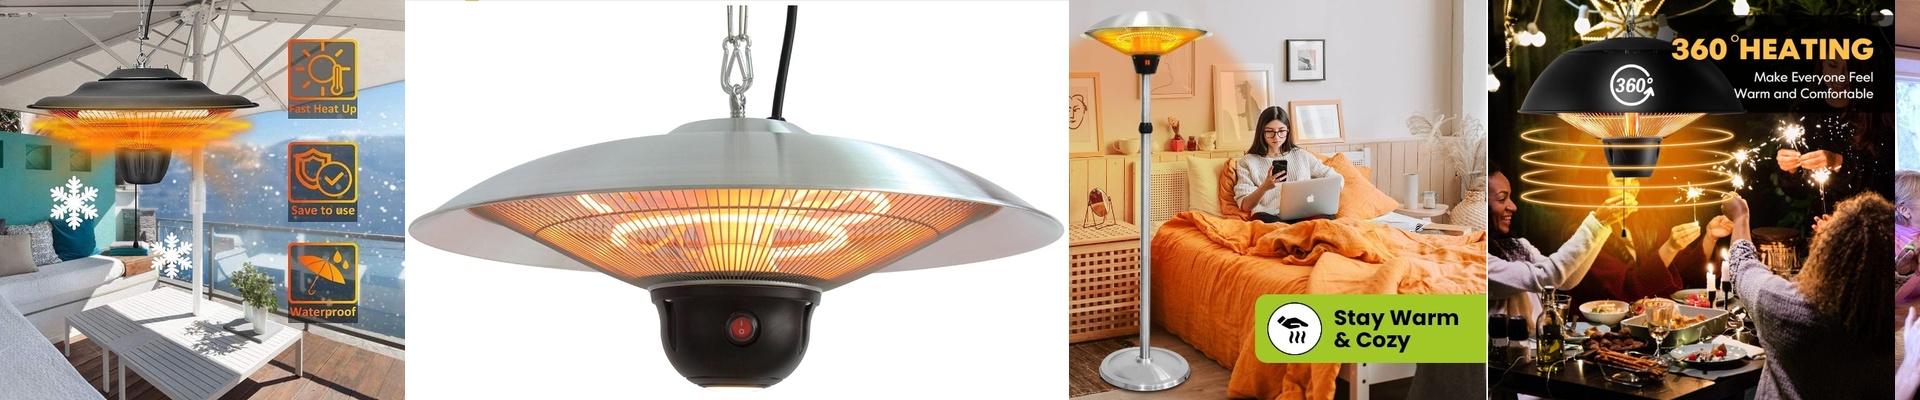
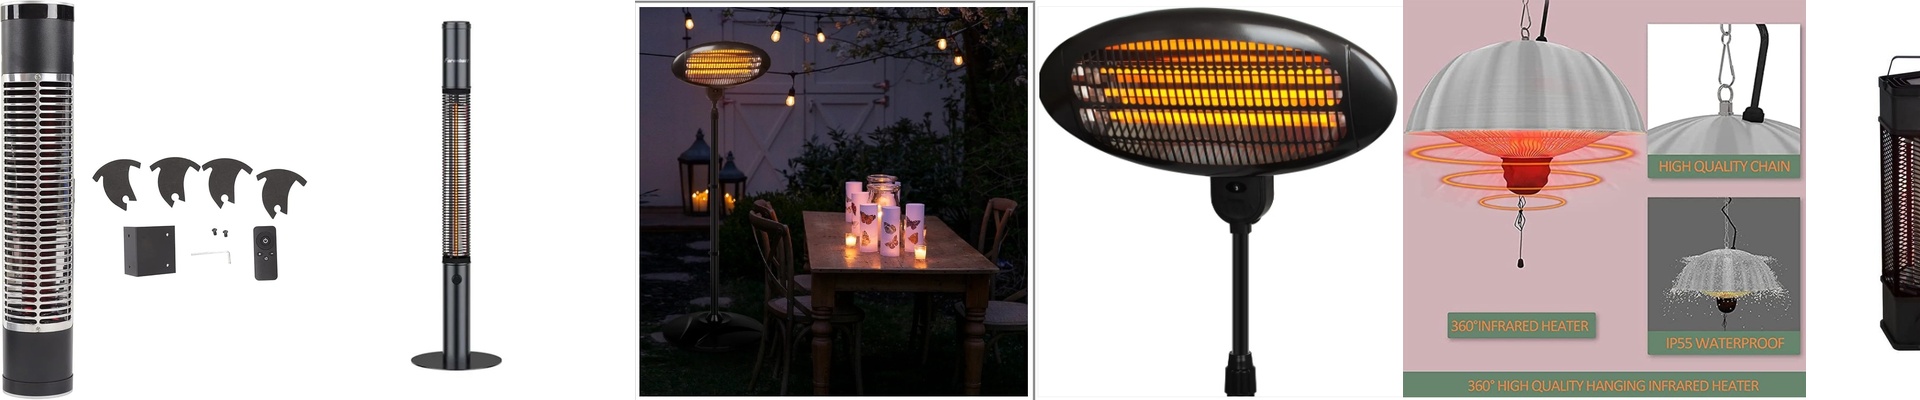
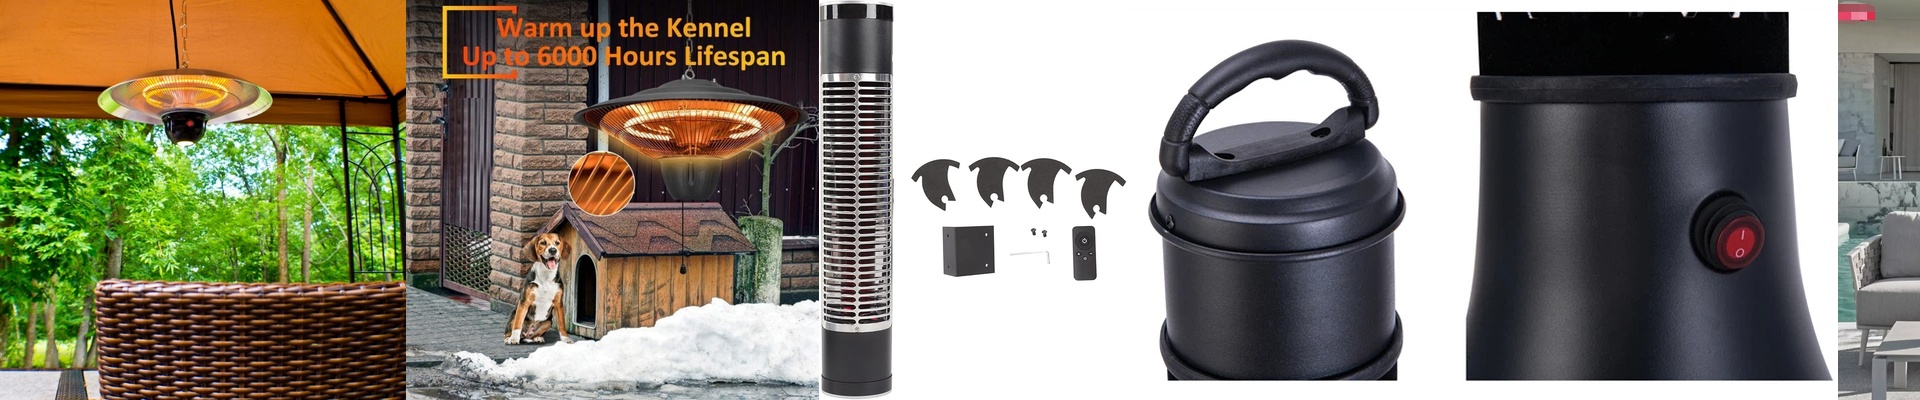

Keeping Your Bathroom IR Heaters from Shorting Out
Putting infrared heating lamps in a bathroom is a bit of a gamble if you aren’t careful. You’ve got constant steam and the occasional direct splash of water. A simple plastic cover isn’t going to cut it here. If you want to keep things safe, you have to obsess over the connection points and the housing. Dealing with the damp Here’s the thing about humidity: it creates these tiny “bridges” that let electricity wander where it shouldn’t—usually toward the chassis. It’s a recipe for disaster. To stop that, we use sealed ceramic insulators and a bit of high-temp silicone potting right where the wires enter. If you just use standard open-air terminals, you’ll get “tracking.” Those are basically tiny electrical arcs that eat away at your insulation until something pops. We stick to IPX4 ratings or better to make sure the inside of the circuitry stays bone dry. The heat struggle IR lamps get incredibly hot. Really hot. The problem is that the quartz glass and the metal end-caps don’t expand at the same speed. If your seals are too stiff, they’ll just crack the first time you turn the heater on. It’s frustrating. That’s why we use flexible, heat-resistant gaskets. They hold onto the lamp’s footprint even when things are peaking in temperature. It keeps the steam from sneaking its way into the electrical socket. Staying grounded Even with the best insulation, you still need a hard ground. We build a dedicated earthing lug right into the aluminum heat sink to shunt any stray current away safely. One heads-up: those waterproof coatings can slightly tweak the emission spectrum. You might notice a tiny dip in raw heat, but it’s a fair trade for not getting a shock in the shower. Just make sure your circuit breaker is paired with a GFCI. If the wiring is sloppy, all the fancy insulation in the world won’t save you.